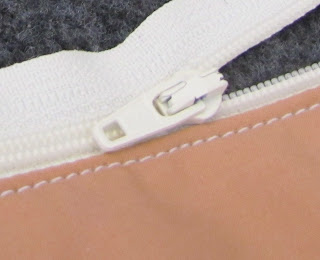
Installing zippers is not a very difficult task, even with the most basic sewing skills - it just requires a little patience and practice. Here you will find a photo tutorial for the most simple and quickest way to install a zipper when sewing a zipper pouch. Basically, all you need is 4 fabric squares or rectangles of the same size (2 exterior and 2 lining), a zipper (I used Ykk dress zipper), scissors, thread, pins (or needle and thread if you prefer to sew basting stitches), and a sewing machine. Once you have all the materials ready, simply follow the steps outlined in the photo tutorial below.
 |
| Materials |
 |
| Pin zipper in place between interior and exterior fabrics (or use basting stitches to secure the zipper in place) |
 |
| Pinned fabrics with zipper in between |
 |
| Sew the zipper in with your sewing machine, gradually taking out the pins (or remove basting stitches when finished) |
 |
| TADA! |
 |
| Pouch Lining |
Repeat the steps for the other side of the zipper.
For an alternative way to sew in a zipper, be sure to check out the Free Zippered Pouch Tutorial . If you would like to learn more about Ykk zippers, check out the All About Zippers page.
To buy zippers in bulk, visit our online Zipper store.
Great tutorial on Installing Zippers:
To buy zippers in bulk, visit our online Zipper store.
Great tutorial on Installing Zippers:

No comments:
Post a Comment